This article was originally published in April 2020.
With week three of social distancing well underway, and public authorities still turning the lights off on non-essential services, we’ve all had to hit pause on many scheduled plans, like our go-to beauty services. And for those of you who are nail salon loyalists, not going for your regular feel-good refresh every week or two can be somewhat of a rude awakening — especially without knowing for sure when life will return back to normal. To help you out during this adjustment period, we spoke to two professional manicurists, Essie’s global lead educator Rita Remark and CND brand ambassador Winnie Huang, to get insider tips for perfecting the art of the mani and pedi at home. And even if you’re a DIY aficionado, trust us: a little help from these Canadian experts will only better your nail game, especially now that sandal season is almost upon us. Here, six DIY manicure and pedicure tips to help you nail your next home spa session.
Start with a clean (dry) base and shape
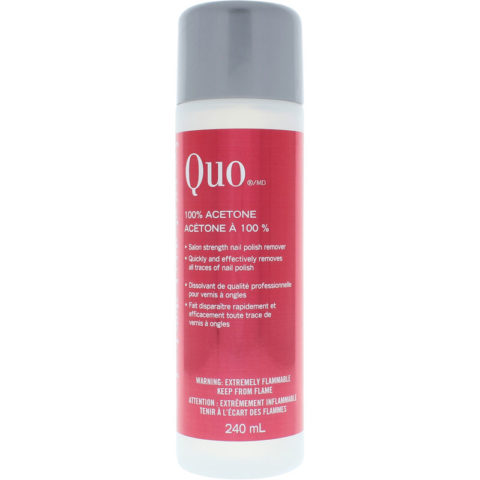
First things first: for nail colour that lasts well beyond a couple of days, start by removing any traces of existing (regular) polish residue, dirt and oil with an acetone-based remover, suggests both pros. Once you have a clean base to work with, it’s time to trim your nails to a desired length with nail clippers, followed by refining the shape of them with a nail file.
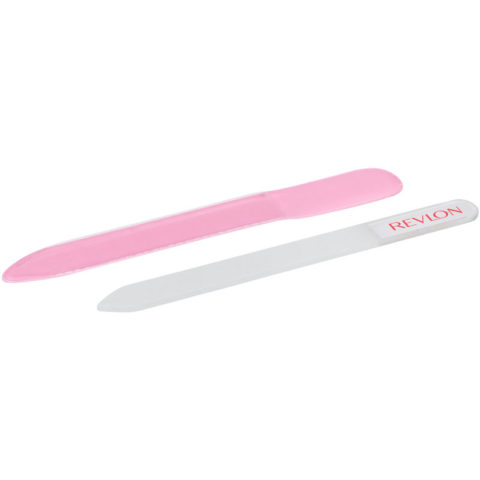
Now, nail files don’t seem like the thing you need to overthink (many of us have probably have emery boards gathering dust in drawers around our house) but for a salon-standard manicure, it’s worth upgrading your nail file selection. “Try to use a finer-grit nail file. It gives you more control when shaping without losing any length,” says Remark. Opting for a softer, cushier board also avoids damaging your nails when filing, adds Huang, as ultra-grainy files are known to shred the edges of natural nails if not careful, leaving them more prone to splitting and breaking.
A common thought is to sit and soak your nails before tending to dry, overgrown cuticles, or even before filing nails for that matter, but both Remark and Huang suggest only reserving this step for your feet to cleanse and soften any calluses. For your hands, a dry manicure is best for extending the lifespan of all your hard work. “Your nails are porous, so when you soak them, they absorb the water and become more flexible, which in turn often results in chipping,” says Huang. When pampering your toes however, Huang suggests soaking them in warm water for five to ten minutes, and adding in some soothing bath salts for an elevated spa-like feel.
Tend to your cuticles
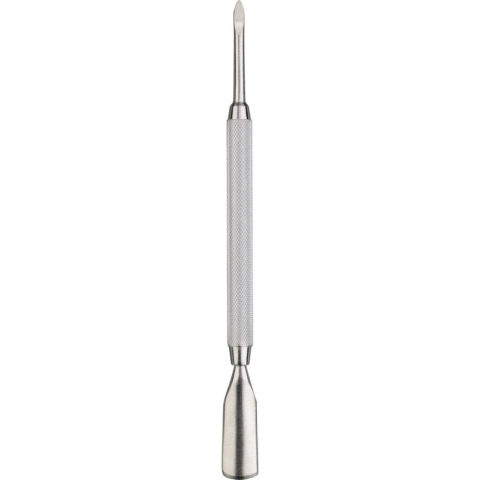
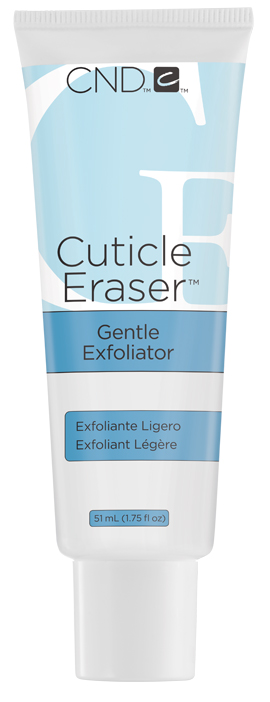
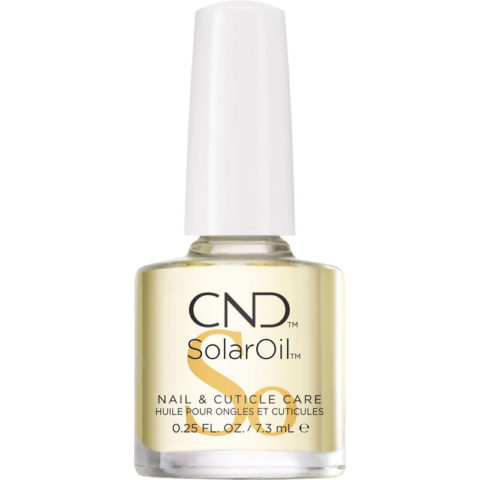
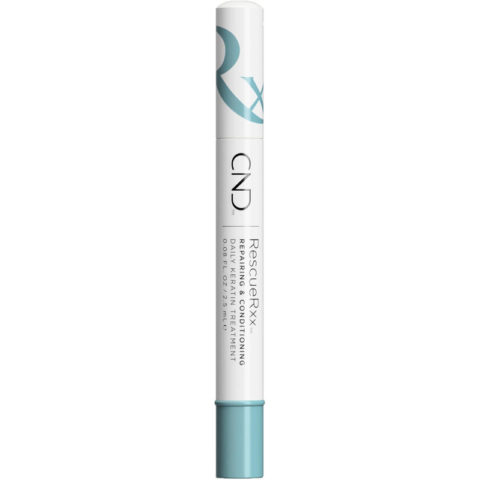
Once you have your perfect nail shape, proceed with gently pushing back cuticles with a stainless steel cuticle pusher before lightly exfoliating the nail surface with a nail buffer, recommends Remark. Alternatively, applying a cuticle oil and a cuticle exfoliator (Huang suggests using CND’s Cuticle Eraser and Solar Oil) and gently scrubbing nail beds with a manicure brush works just as well. “This will gently push back the skin around the nail and help exfoliate any cuticle and dry skin away,” says Huang.
For feet, don’t forget to give some TLC to any scaly heels with a callus remover. Remark is a fan of the double-sided foot file: “The coarse side is for removing calluses and the finer side softens,” she says.
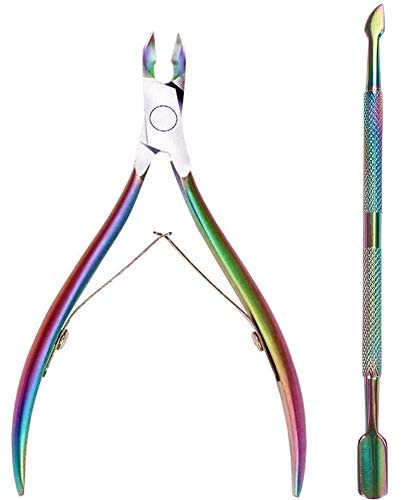
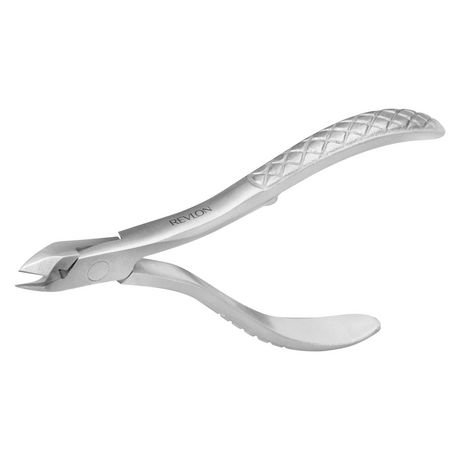
And while it may be tempting to clip cuticles, don’t go overboard. Delicate trimming — with a proper cuticle nipper — should only be reserved for loose, dead skin (aka hangnails). “Nip hangnails off while being careful not to cut into your actual skin,” stresses Huang.
Lotion up and prep properly for polish
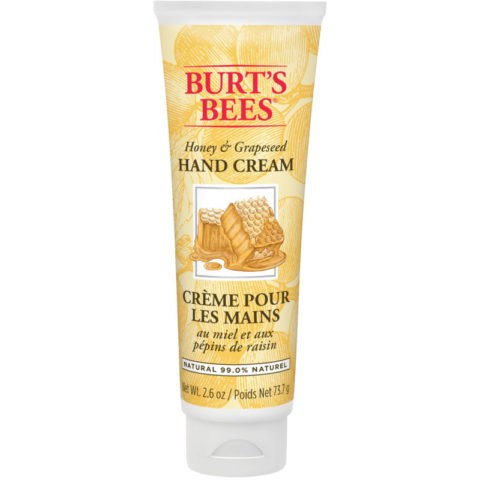
Next up: Massage in some lotion (avoiding your actual nails as best as you can), and give your nails a once-over with a swipe of acetone.
Two thin coats are better than one massive thick coat
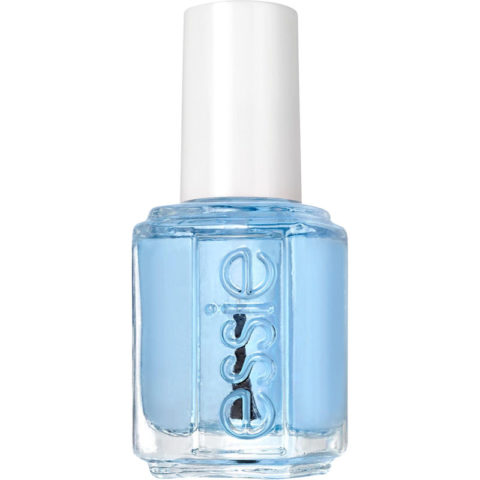
The perfect polish application is your best friend when it comes to longwear nail colour, and that process always starts with one swipe of a good basecoat to protect your nails, says Remark. It also gives your colour something to properly cling to. “This is the double-sided tape that adheres the polish to your nail. It’ll help your manicure last that much longer,” adds Huang.
Proceed with brushing on two thin coats of colour (the pro-approved wait time is one to two minutes between each coat) and finish up with a topcoat — unless you’ve been polishing with a multitasking, all-in-one basecoat, says Remark. And it’s important to cap the free edge, both pros advise – this means to swipe across the end of the nail after every polish layer.
Fix mistakes
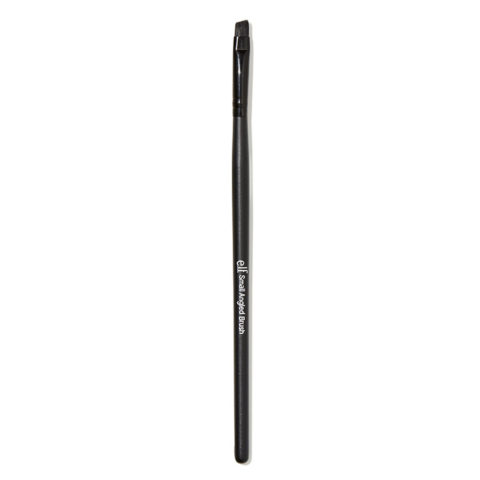
Dealing with polish smudges and slip-ups? Try upcycling old makeup brushes for quick clean-ups. “My favourite trick is to use a tiny angled brush dipped in nail polish remover,” reveals Huang. “But don’t load too much liquid on the brush, which may cause flooding,” she continues. If you don’t have a makeup brush to spare, good-old orangewood sticks will easily do the clean-up (and earlier cuticle-pushing) trick as well.
“If you smudge or nick your polish when it’s still tacky, dip the tip of your finger in acetone, and with a very gentle touch, you can glide the polish back into place,” adds Remark.
Say yes to more cuticle oil
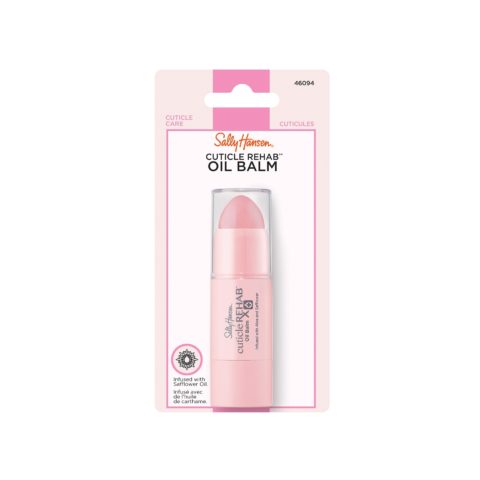
During these hand-washing and hand-sanitization obsessed times, more is more. In fact, Huang recommends pampering cuticles with oil or a balm once to twice a day to keep nails and skin well moisturized. “Really commit to a cuticle-care routine. I always like to keep a bottle of oil close to me. Now more than ever, it’s time to take care of cuticles since we’re washing our hands way more often.”
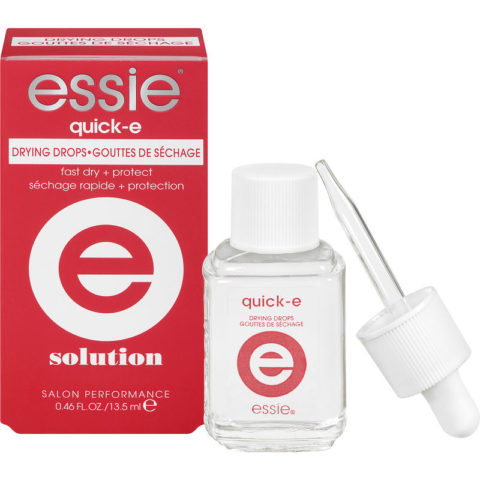
Low on at-home supplies? Shop our gallery below of nail essentials that are easily accessible via your local drugstore, grocery store or mass-market retailer.
The post Doing Your Nails at Home? 6 Pro Tips To Get Them Right appeared first on FASHION Magazine.
